Setting up a machine learning research and development environment in Windows 10
You spend a lot of time in Jupyter notebooks and the terminal and don’t particularly enjoy Anaconda on Windows? Here’s how you can use the Windows Subsystem for Linux as your machine learning research and development environment!
Enable the WSL feature
I won’t go into detail about this, as there is a guide by Microsoft explaining how to enable the WSL, but here’s a quick outline:
- Open Windows PowerShell as Administrator and run:
Enable-WindowsOptionalFeature -Online -FeatureName Microsoft-Windows-Subsystem-Linux- Restart your computer.
- Open the Microsoft Store and install your favorite Linux distribution (e.g. Ubuntu).
- Start the newly installed Application and initialize your user account.
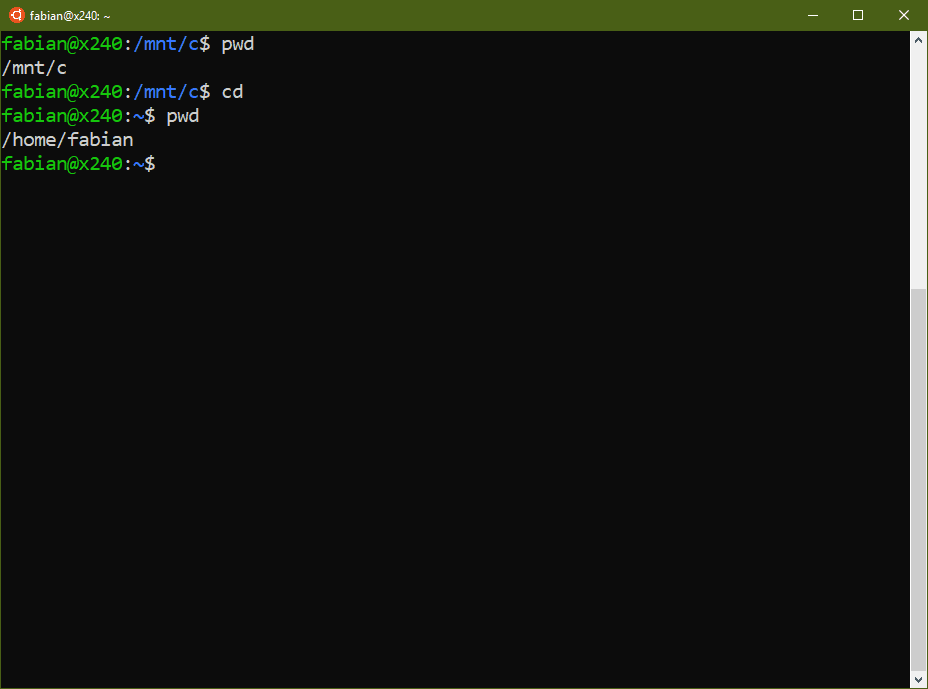
Switch to Z shell (zsh)
bash is awesome, but there are some missing convenience features that the Z shell implements:
- file globbing
- spelling correction
- directory aliases
- loadable modules
- compatibility modes
- startup/shutdown scripts (
.zshenv,.zprofile,.zshrc,.zlogin,.zlogout) - command completion (e.g.
git) - path expansion (
cd /u/lo/bi<tab>will change the directory to/usr/local/bin)
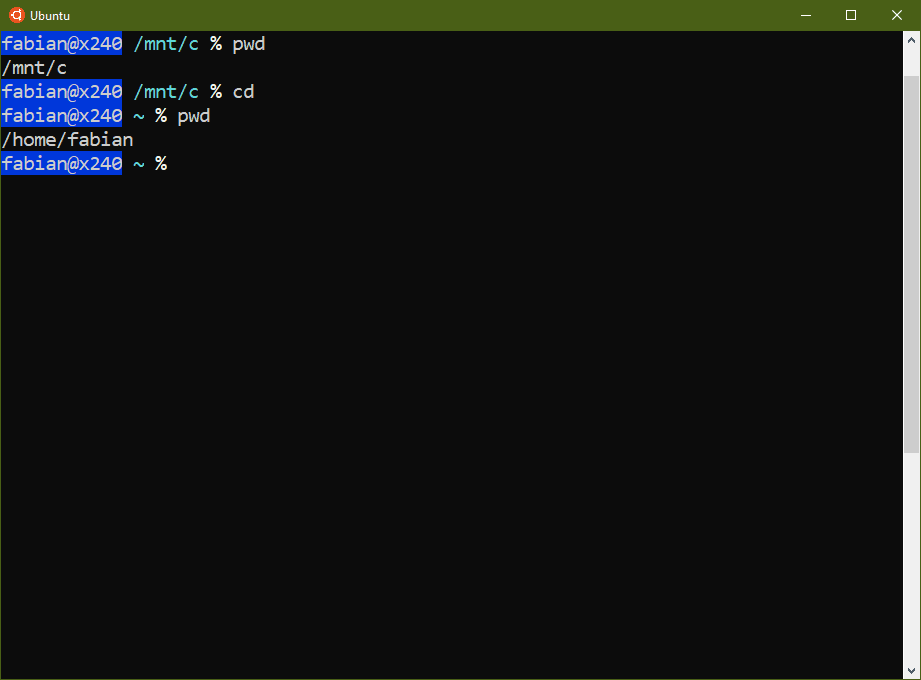
To install the Z shell on Ubuntu, simply run:
sudo apt-get install zshUpon completion, you can change your shell to the Z shell by running:
chsh --shell `which zsh`Enter your password when prompted and you’re good to go!
Install oh-my-zsh
In order to make zsh even better, you can make use of the Oh My Zsh framework. You can do so by one of the following commands.
Using curl:
sh -c "$(curl -fsSL https://raw.githubusercontent.com/robbyrussell/oh-my-zsh/master/tools/install.sh)"Using wget:
sh -c "$(wget https://raw.githubusercontent.com/robbyrussell/oh-my-zsh/master/tools/install.sh -O -)"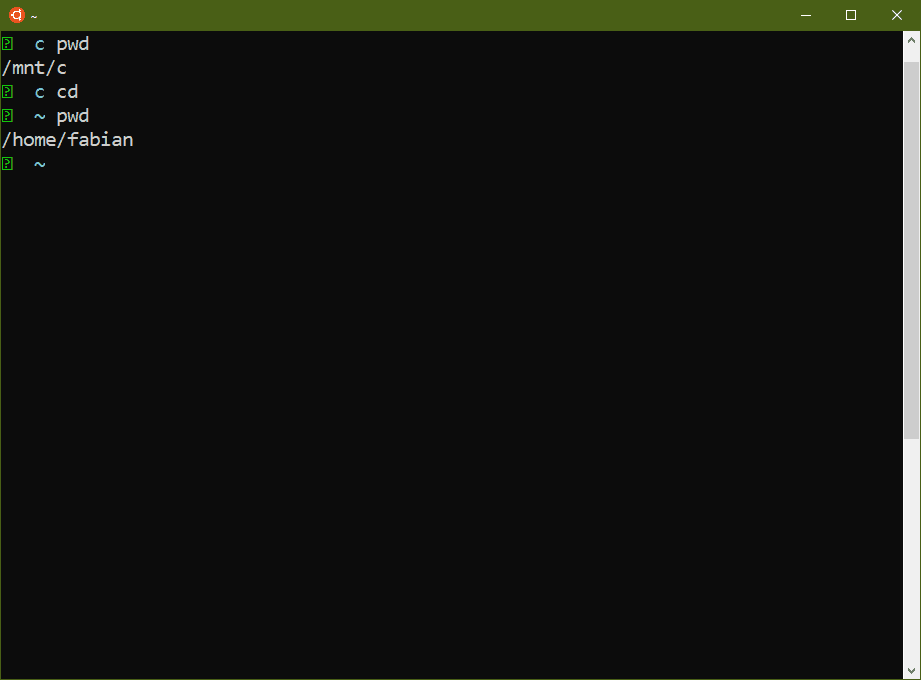
Plugins
You are now able to install zsh plugins using oh-my-zsh!
Edit your .zshrc file with your favorite editor (e.g. vim ~/.zshrc) and look for the following line:
plugins=(git)Personally, I use the following plugins:
plugins=(vi-mode common-aliases tmux git)There is a wiki listing most plugins available.
Themes
Additionally, if you want to change the theme of the Z shell, look for the following line in your .zshrc:
ZSH_THEME="robbyrussell"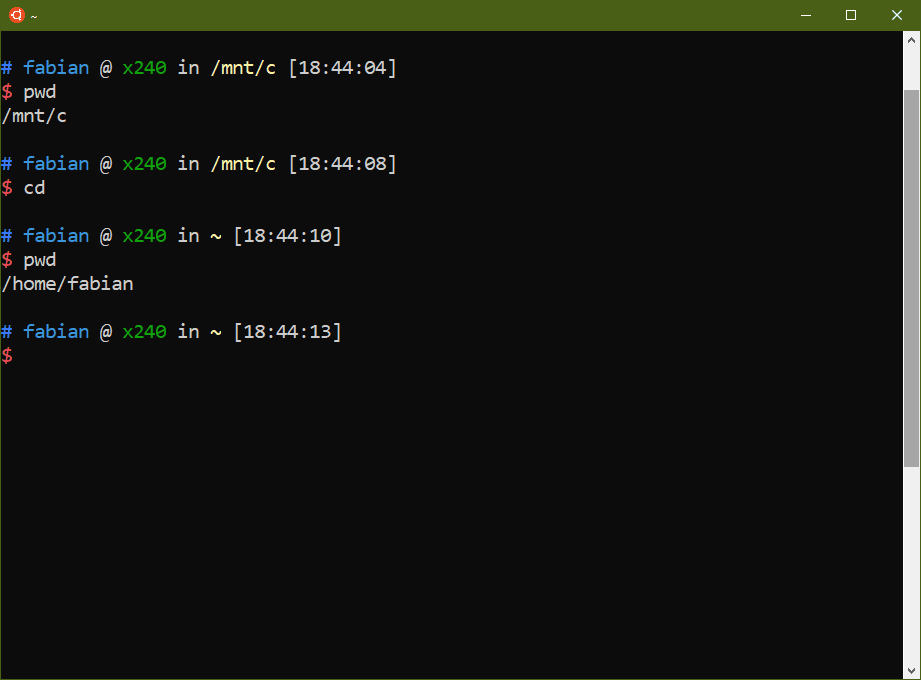
I personally use ZSH_THEME="ys", as that seems to be fairly compatible with most terminals, but other popular choices include "mh" and "agnoster".
Again, there is a gallery of themes available on GitHub.
Syntax highlighting
There is also a syntax highlighting plugin for the Z shell. You can install it by running:
- Cloning the repository (it does ship with Oh My Zsh).
git clone https://github.com/zsh-users/zsh-syntax-highlighting.git ${ZSH_CUSTOM:-~/.oh-my-zsh/custom}/plugins/zsh-syntax-highlighting- Activating the plugin in Oh My Zsh (it must be the last one).
plugins=(... zsh-syntax-highlighting)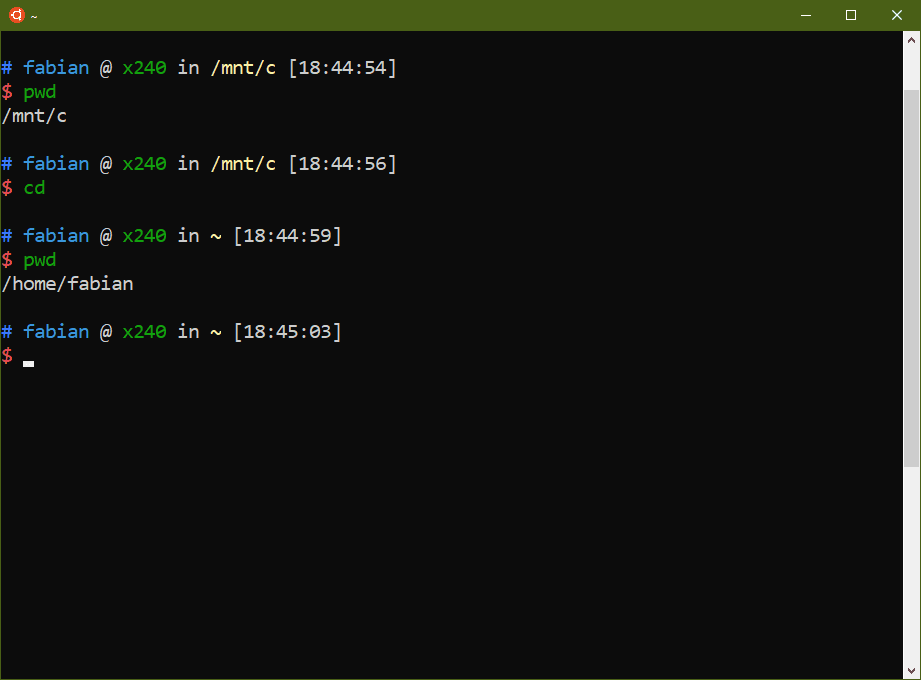
Install python 3
If you do not have python 3 installed on your Ubuntu system, you can do so quickly by running:
sudo apt-get install python3For pip, similarly run:
sudo apt-get install python3-pipIf you prefer to use a virtual environment for python, you can do so now. The following steps assume you are in the correct python environment.
Download the scientific computing tools for python
This step is entirely dependent on your preference of tools, but here are some popular ones:
-
pandas : An open source, BSD-licensed library providing high-performance, easy-to-use data structures and data analysis tools for the python programming language.
-
scipy : A python-based ecosystem of open-source software for mathematics, science, and engineering.
-
scikit-learn : Simple and efficient tools for data mining and data analysis, accessible to everybody, and reusable in various contexts. Built on numpy, scipy, and matplotlib.
-
tensorflow : An open source software library for high performance numerical computation.
-
matplotlib : A python 2D plotting library which produces publication quality figures in a variety of hardcopy formats and interactive environments across platforms.
-
seaborn : A python data visualization library based on matplotlib.
-
keras : A high-level neural networks API, written in python and capable of running on top of tensorflow, cntk, or theano.
You can install them all by running:
pip3 install --user pandas scipy scikit-learn tensorflow matplotlib seaborn kerasSet up the Jupyter environment
Finally, it’s time to set up the Jupyter environment. As there is a project Jupyter Lab with more functionality than Jupyter Notebook, I prefer to use Jupyter Lab. In order to install Jupyter Lab, run the following command:
pip3 install --user jupyterlabIf you ran the above command, you need to add the directory containing Jupyter Lab to the path.
Simply put the following command into your .zshrc file:
export PATH=$HOME/.local/bin:$PATHStarting Jupyter Lab
In order to run Jupyter Lab, the --no-browser flag should be set:
jupyter lab --no-browserPersonally, I set up the following alias in my .zshrc file:
alias jls='jupyter lab --no-browser'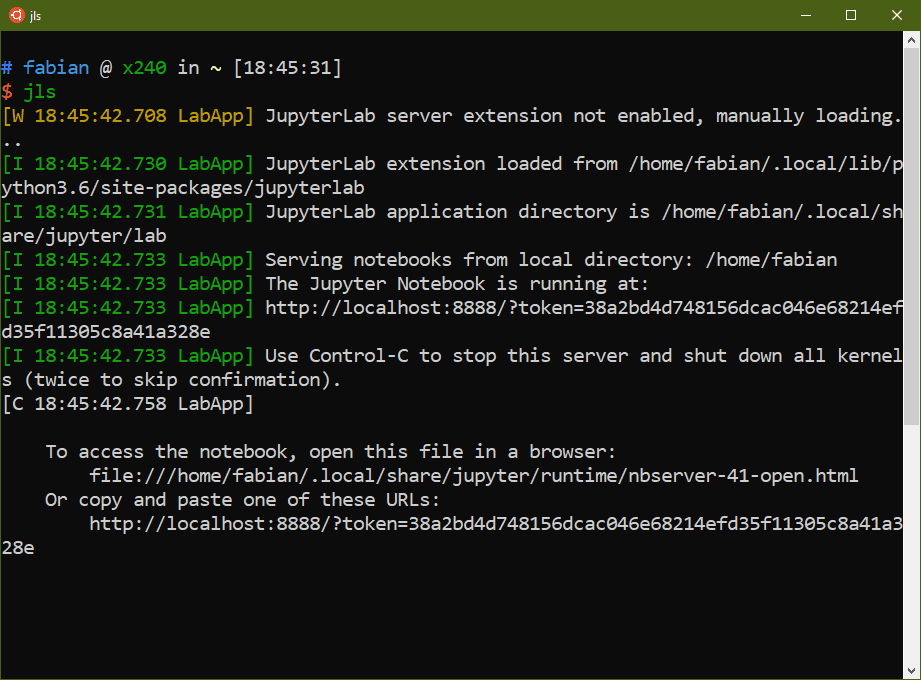
Linking your important directories
If you want to have symbolic links to your important directories in Windows, you can do so by using the following command:
ln -s TARGET LINK_NAMEFor example, in order to create a symbolic link named just_a_link to your Windows desktop, run the following:
ln -s /mnt/c/Users/YourNameHere/Desktop just_a_link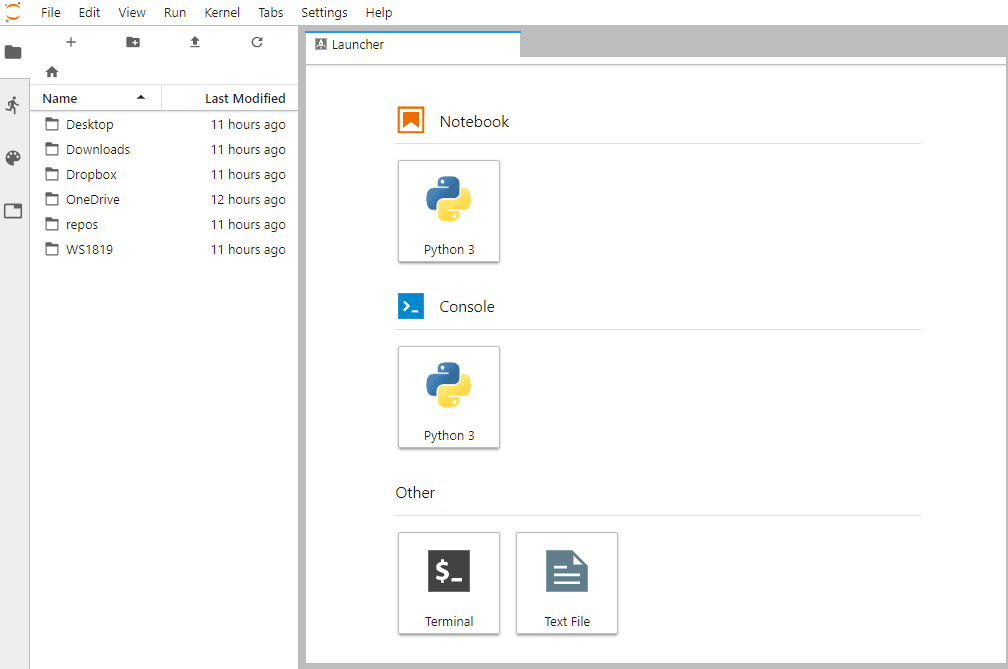
Conclusion
I hope this post was useful for you. If you have any comments, feel free to contact me!
2026 © Fabian Heseding